Showing posts with label fall crafts. Show all posts

Friday, September 21, 2012

Apple Print Wreath

Apple printing is a staple in our fall crafting. The kids look forward to doing it every year. So, even though we have already done a few apples crafts this year, there was no way we were going to skip this favorite. Instead of the apple print trees we made in the past, we made a wreath.

 Older kids could easily do apple prints without overlapping them, Stella could not, So I gave her some paper and she did her own freestyle apple prints. That worked out great as she is always happy to do her own thing!
While Stella happily got onto her work, I printed apples in red and green. After they were dry, I added stems and cut them out. Then it was Stella's turn once again. She glued the apples around the base of our wreath (a paper plate with the center cut out).
I added a bow and we have a finished wreath!


Thursday, September 13, 2012

Hand Print Apples in a Basket

It's really beginning to feel fall-like around here. So, sticking with that theme, we made a basket of apples today!
 
Start off by painting the palm of your child's hand and printing it several times on a piece of construction paper. Add some stems and leaves.
 
Next, I cut strips of brown paper to create a basket covering the apples. Older kids could weave this, but Stella is just 2 so I just applied the glue and let her stick the strips to it. After she placed the strips on, I cut the ends off to make it look more like a basket. It's finished!

*This is what happens when you walk away from little Miss Stella and she can reach the paint...


Tuesday, September 11, 2012

Hand Print and Button Apple Tree

With the big kids back to school, Stella has been begging to do something crafty. The girl loves to paint so to avoid another disaster like this one, I decided to make an apple tree with her.
I painted a tree trunk on a piece of construction paper and added some leaves with Stella's hand prints. Then, she glued on some buttons for the apples. Easy as pie!
Although we did ours on construction paper, how cute would this be on fabric with the buttons sewed on? I could see it on a cute tote bag. Hmm...maybe another day.

Wednesday, September 28, 2011

An Oldie But Goodie-Pumpkin Pie Play Dough


This play dough recipe is a must for fall! It just smells so good!

You will need:
  • 2 cups flour
  • 1 cup salt
  • 2 cups water
  • 2 tbsp. vegetable oil
  • 1 tbsp. cream of tartar
  • 2 tbsp pumpkin pie spice (of course I had none, so I just made a mixture of cinnamon, cloves, and ginger)
  • red and yellow food coloring
Combine all the ingredients in a medium saucepan and stir over medium-low heat. Continue to stir until the mixtures reaches the consistency of mashed potatoes. Remove it from the heat and knead it when it's cool enough to handle. (This is the best part! I love kneading the warm dough, especially when it smells so good!) Store in an air tight container.


We made a few pumpkins by adding some leaves and stems cut from pipe cleaners. Madelyn also just rolled out the dough and made some pumpkin "cookies".

Tuesday, September 27, 2011

Pinecone Painting

013
We are having another rainy day here today and to be honest, I have been slacking in the fun department lately, so what better way to liven things up than doing a messy project. I’ve done this with the big kids in the past and it was always a hit, so I thought I would let Stella have a crack at it.
Here’s what you need:
012
Now, it’s time to get down to business.
Picnik collage
Stella always loves getting into her art! But no worries here, all of the paint we use is non-toxic so even if she does taste it, she’ll be fine. Smile

Wednesday, September 14, 2011

An Oldie But Goodie-No Mess Fingerpainted Leaves

The truth is, I have never really been afraid to make a mess. In fact, we do it quite often here! This technique is just another fun way to finger paint!

Let's get started!

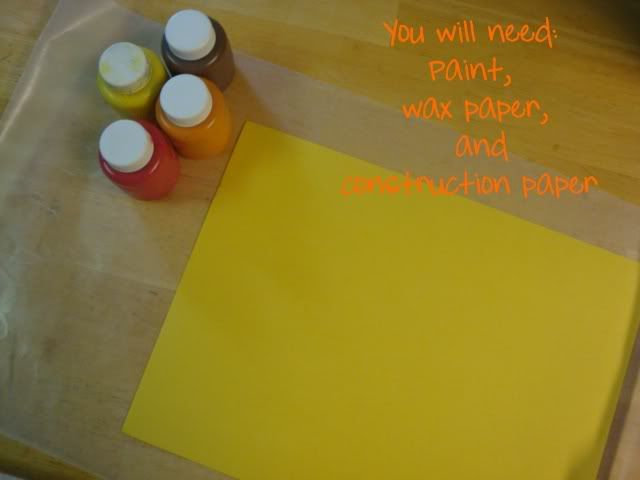
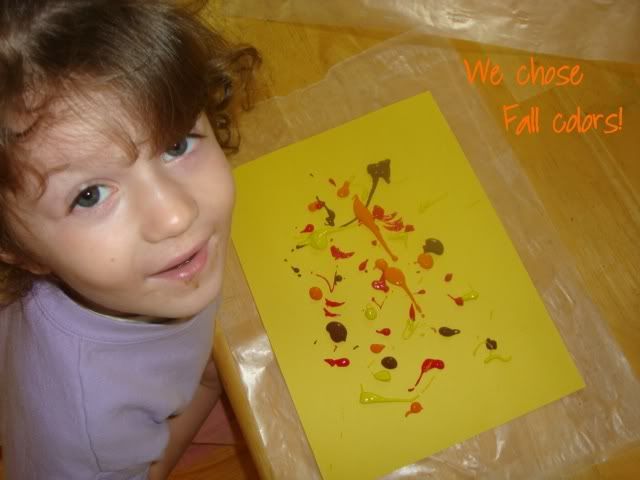
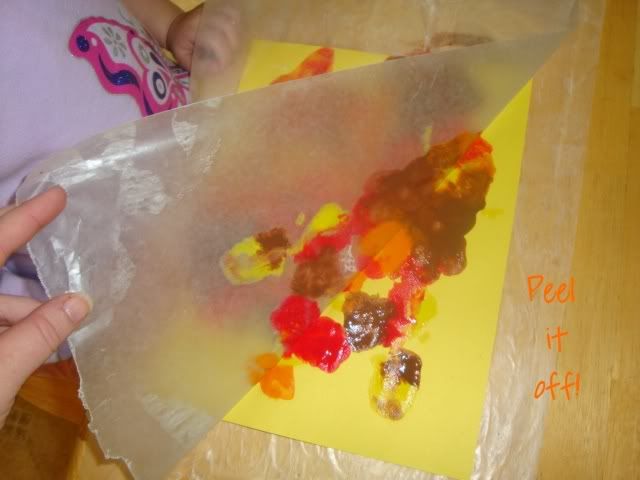
Lay a piece of wax paper on the table and put a piece of construction paper on top of it. Then add a few colors. Try to keep your paint towards the center so it does not ooze out the side when you start painting!

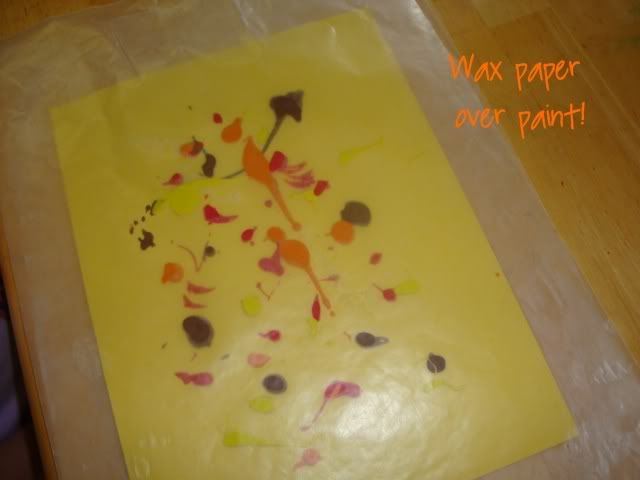
Add a second sheet of wax paper.

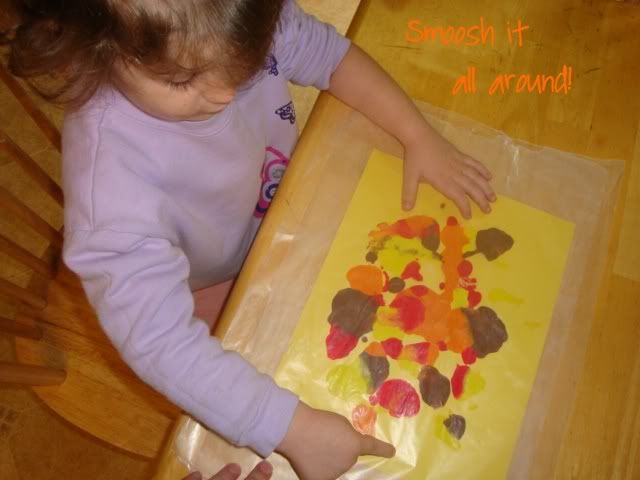
Now the fun begins!

Carefully remove the wax paper.

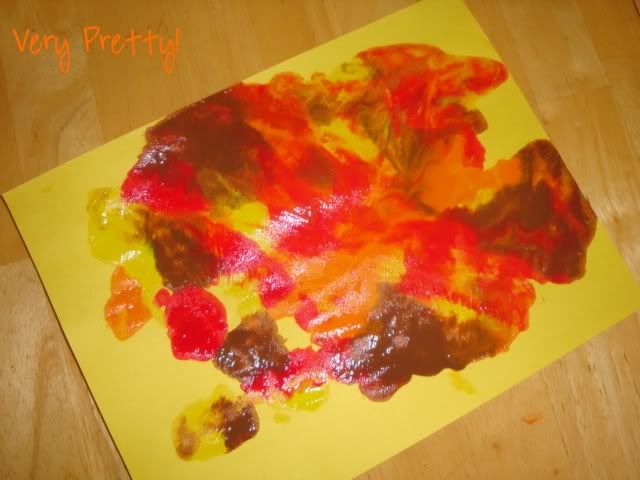
The colors all blend really well! With no mess!

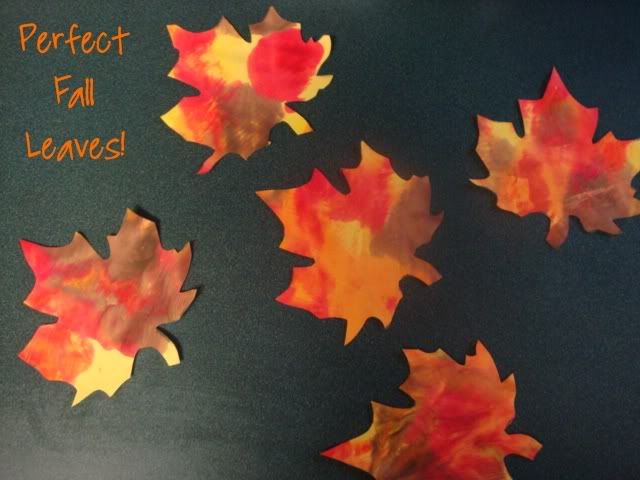
This is a great way to make:


Tuesday, November 9, 2010

Indian Corn Craft

Paint and bubble wrap are two of Madelyn's favorite things. So this craft was extra fun for her, except that I had to constantly remind her that she couldn't pop all the bubble wrap or it would not work!

To make this craft you will need:


To get started,


then,


next,


Now just,


I hope you have as much fun making this craft as we did!
I've linked this post up here:

Best toys for toddlersabc button

Tuesday, October 5, 2010

Fall Leaves (Tie Dye Style)

Decorating for Fall is one of my favorite things to do. We couldn't decorate for Fall without some leaves, so here is how we made ours.
First, mix 2 tablespoons of water with 10 drops of food coloring to make some water colors.

Then,
Next, 
and lastly,
For another, mess-free way to make some colorful Fall leaves, go here.

Tuesday, September 29, 2009

No Mess Finger Painting

The truth is, I have never really been afraid to make a mess. In fact, we do it quite often here! This technique is just another fun way to finger paint!

Let's get started!

Lay a piece of wax paper on the table and put a piece of construction paper on top of it. Then add a few colors. Try to keep your paint towards the center so it does not ooze out the side when you start painting!

Add a second sheet of wax paper.

Now the fun begins!

Carefully remove the wax paper.

The colors all blend really well! With no mess!

This is a great way to make:

Wednesday, September 23, 2009

Apple Print Trees

Making apple prints is such a fun way to start off fall. Today we turned our traditional apple prints into apple trees.

1. Paint a tree trunk on a piece of construction paper.
2. Cut an apple in half and dip it in green paint. Press it on the paper to make leaves.
3. After you finish the leaves, dip another apple half in some red paint and stamp a few apples on your tree.

4. Here is our finished apple tree!


Monday, September 29, 2008

Painting With Straws

This was a fun and easy paint project for my kids. To create our art, we used straws to blow paint around on paper. You will need: paper, straws, and paint (I added a few drops of water to the paint to make it easier to blow around).
Just spoon a little bit of each color onto the paper. Then, blow the paint with the straw. We used fall colors so that we could make them into leaves when they were dry.


After the kids are done or when they pass out:), allow the painting to dry and cut them into leaves or what ever you desire.
Related Posts Plugin for WordPress, Blogger...